Calibration
Sensors are calibrated using a series of captured images.
The overall process follows:
Install the cameras using the 4-Sensor Reality Capture setup or 9-Sensor Reality Capture setup as directed by your Sony technician. For more information, see Installing the cameras.
Arrange flags in the target area.
Capture the calibration checkerboard as you move it through the target area.
Calibrate captured clips (performed by a remote Sony technician).
Build the 3D model (ply) (performed by a remote Sony technician).
Note
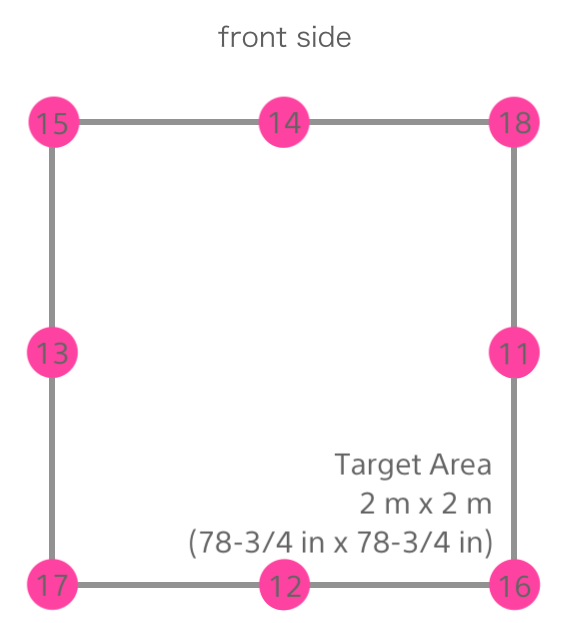
When using the 9-sensor Reality Capture workflow, the calibration procedures will be performed twice. For the first calibration, the sensors will be arranged as shown by the yellow dots in the following image. For the second calibration and content capture, the sensors will be shifted 20 degrees (each sensor will be moved clockwise halfway to the next sensor) as shown by the magenta dots.
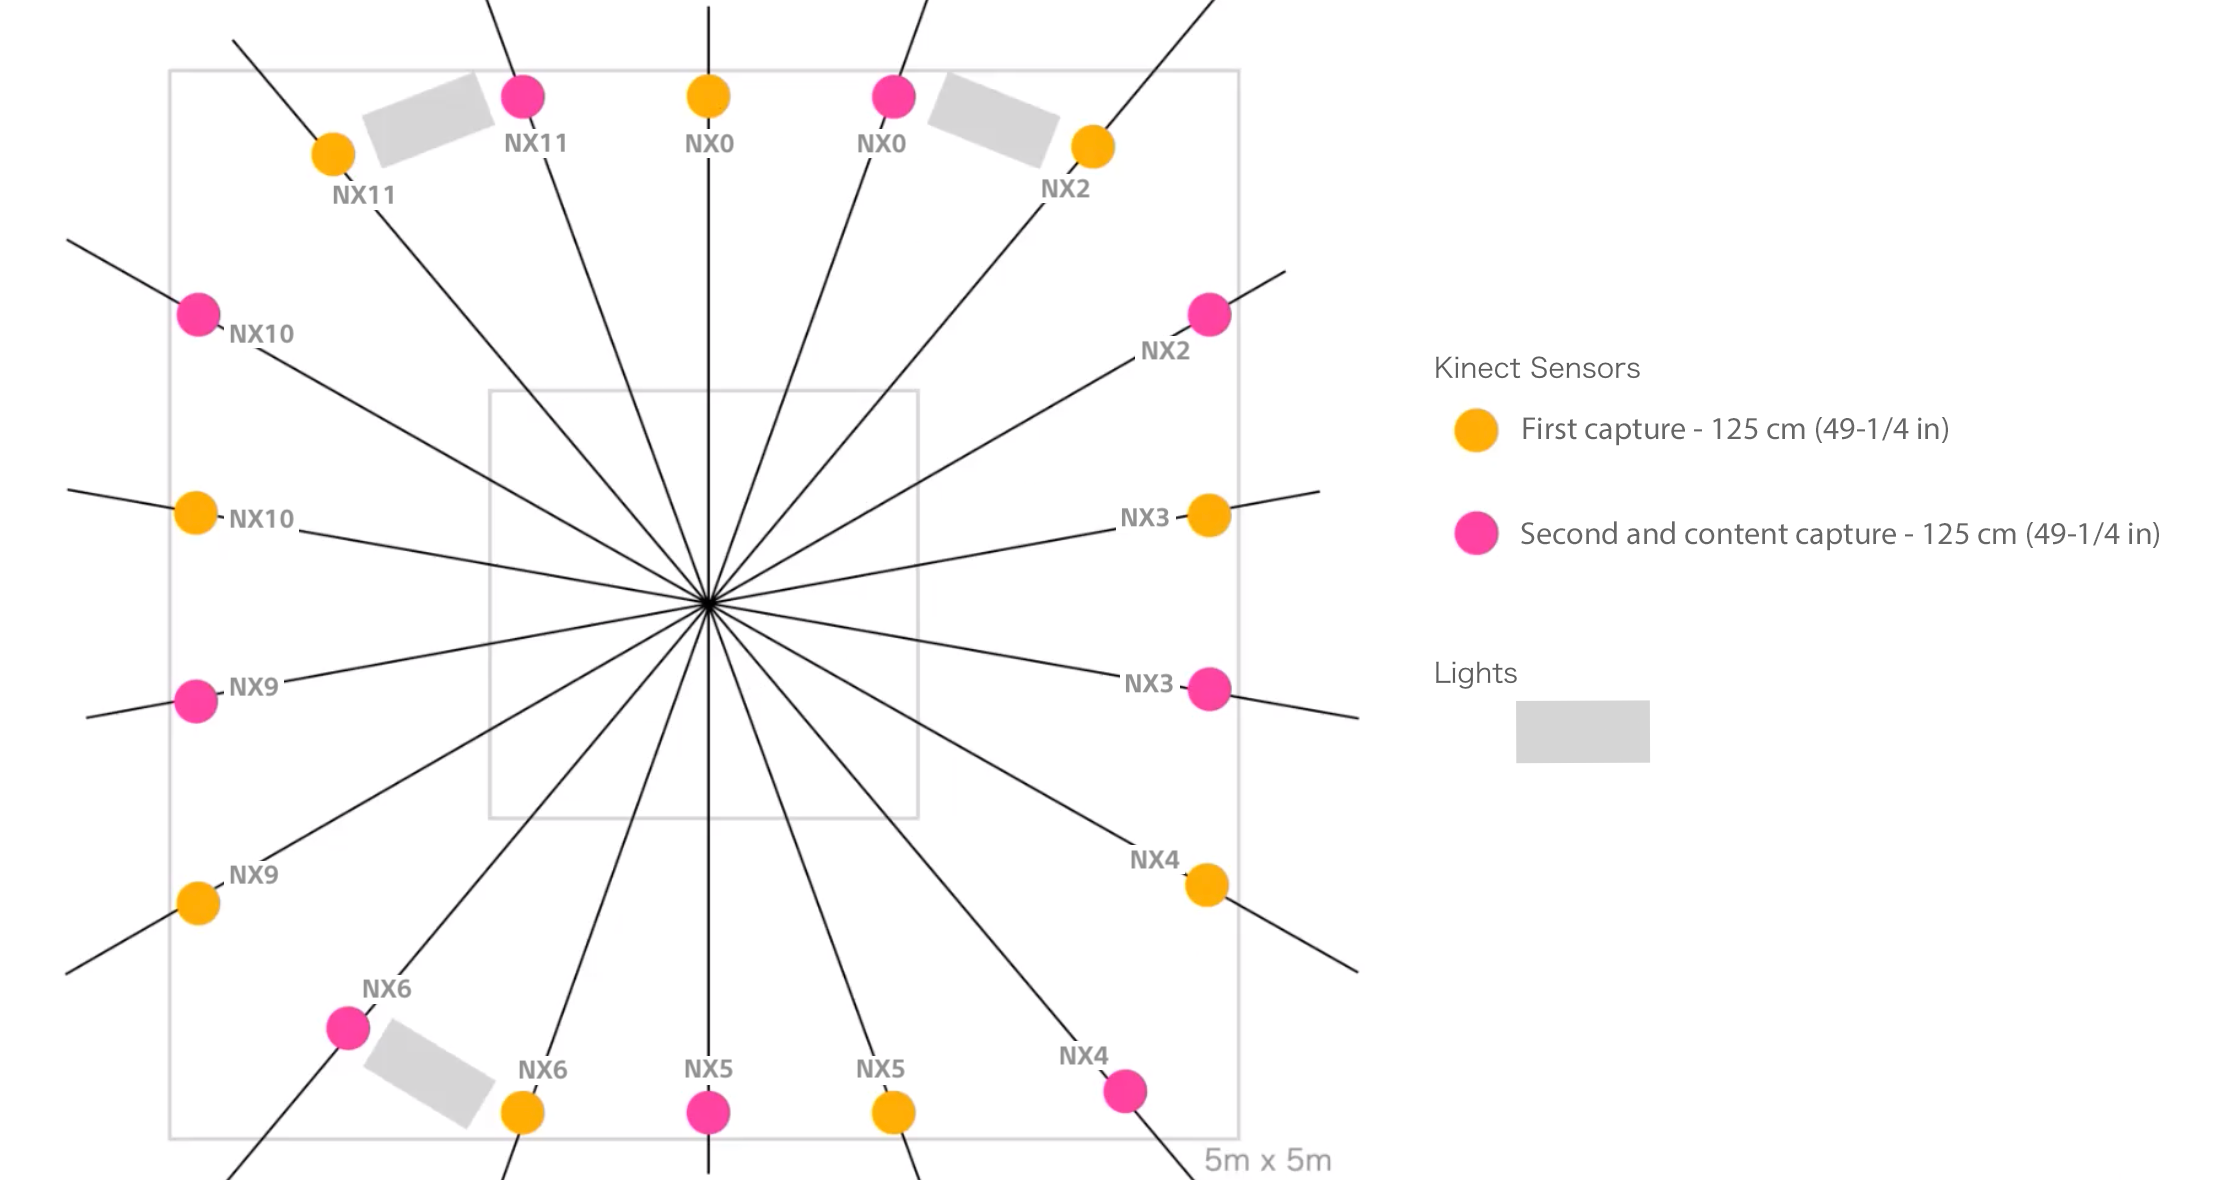
Arrange Reality Capture markers
Arrange the Reality Capture markers on the floor as indicated by the magenta marks in the following image. Each marker should be 1 m (39-3/8 in) from the center of the target area.
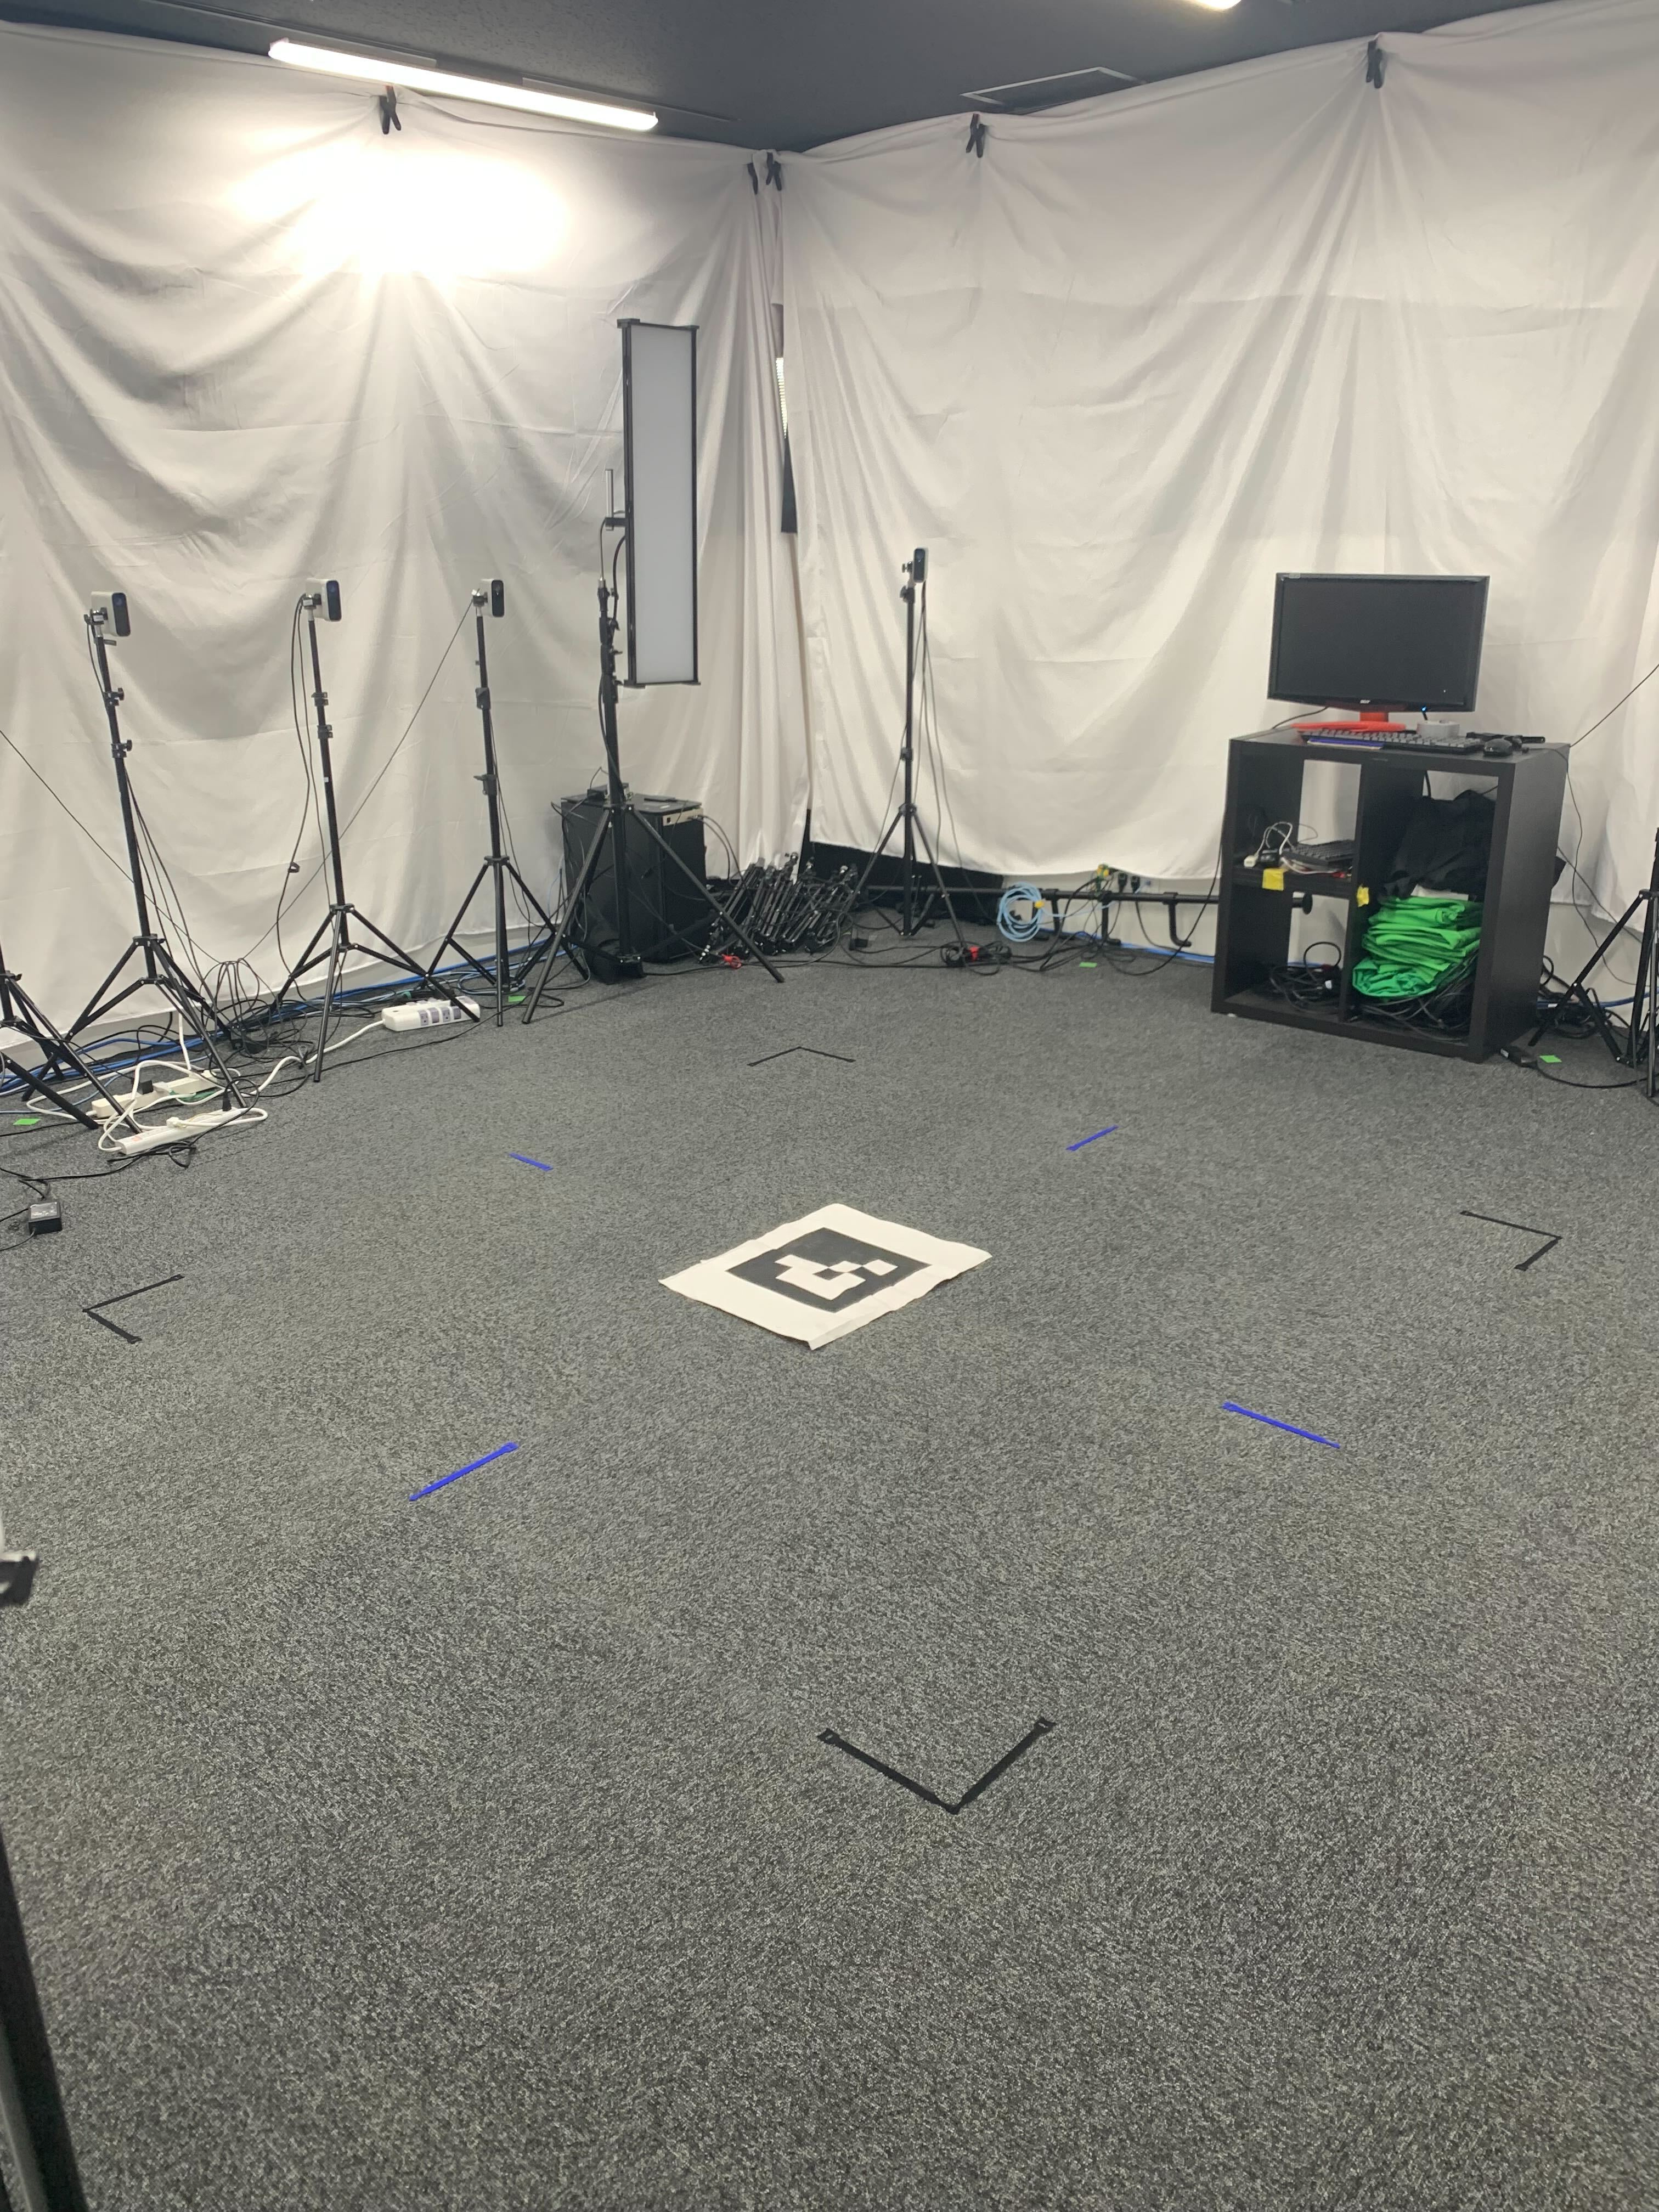
Capture the AR marker
Click the following image to save a full-sized version for printing on A3 paper.
Place the AR marker in the center of the target area.
The Sony team will remotely start the process to capture a series of images of the AR marker.
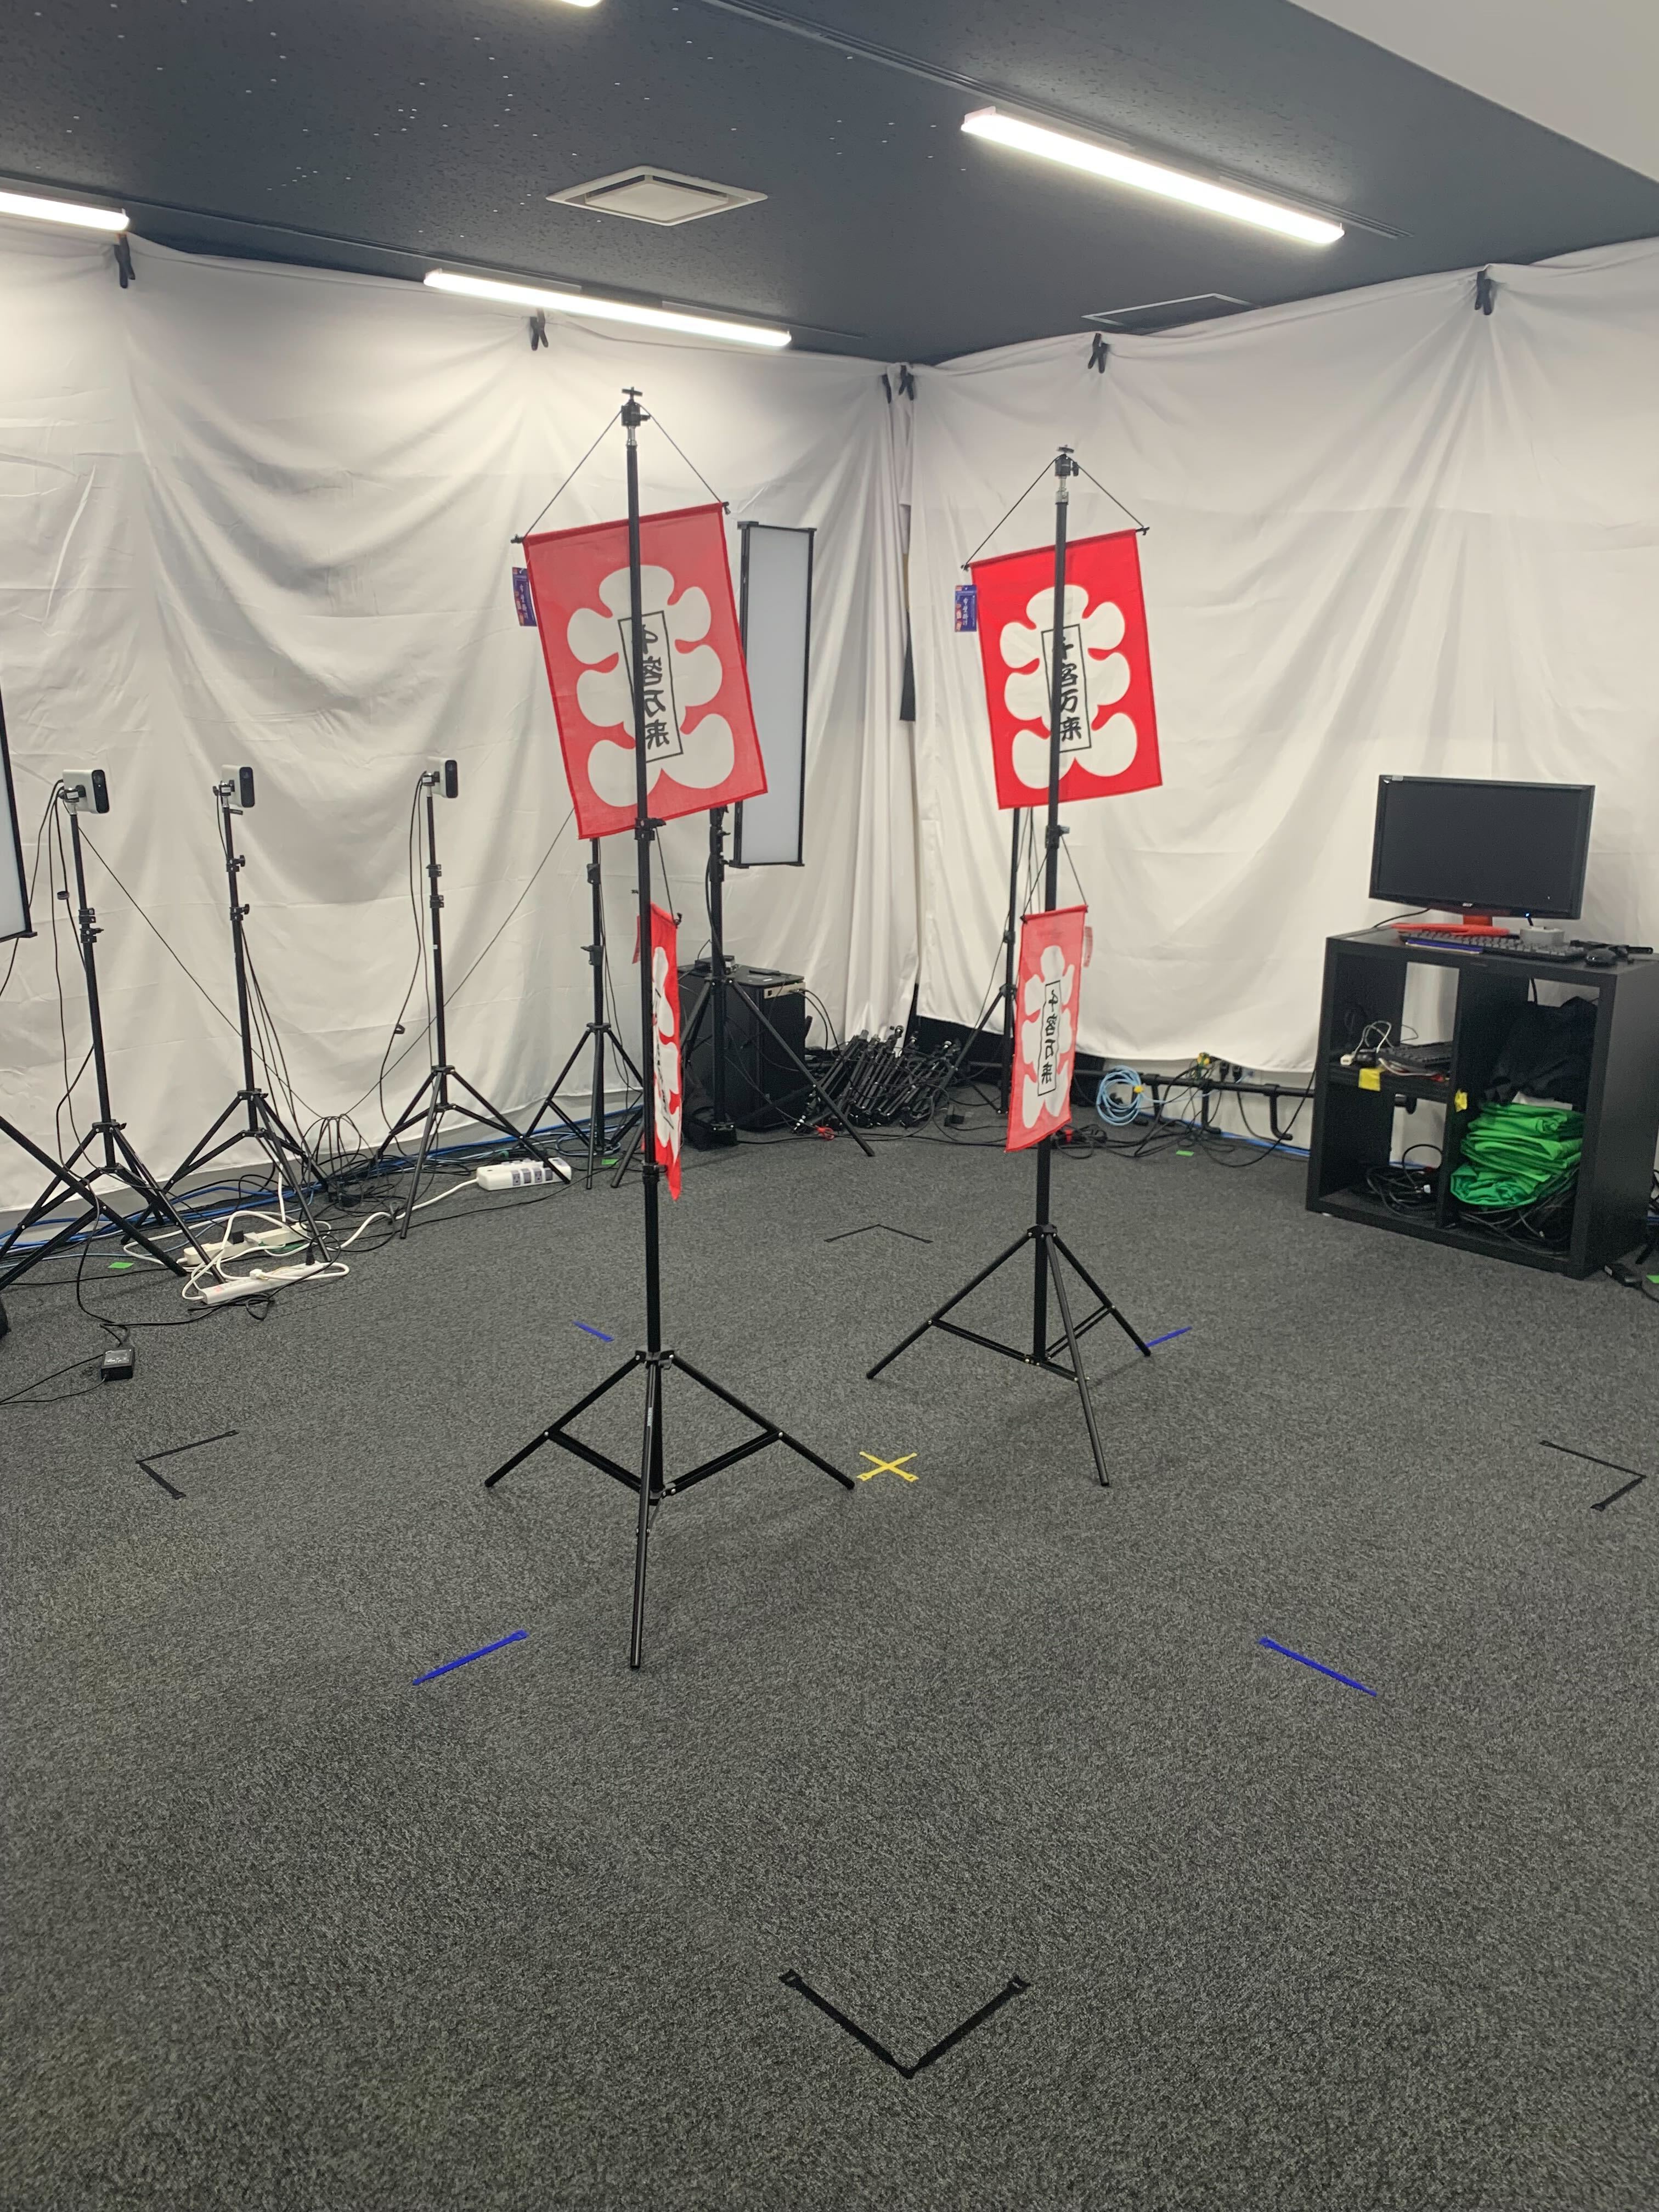
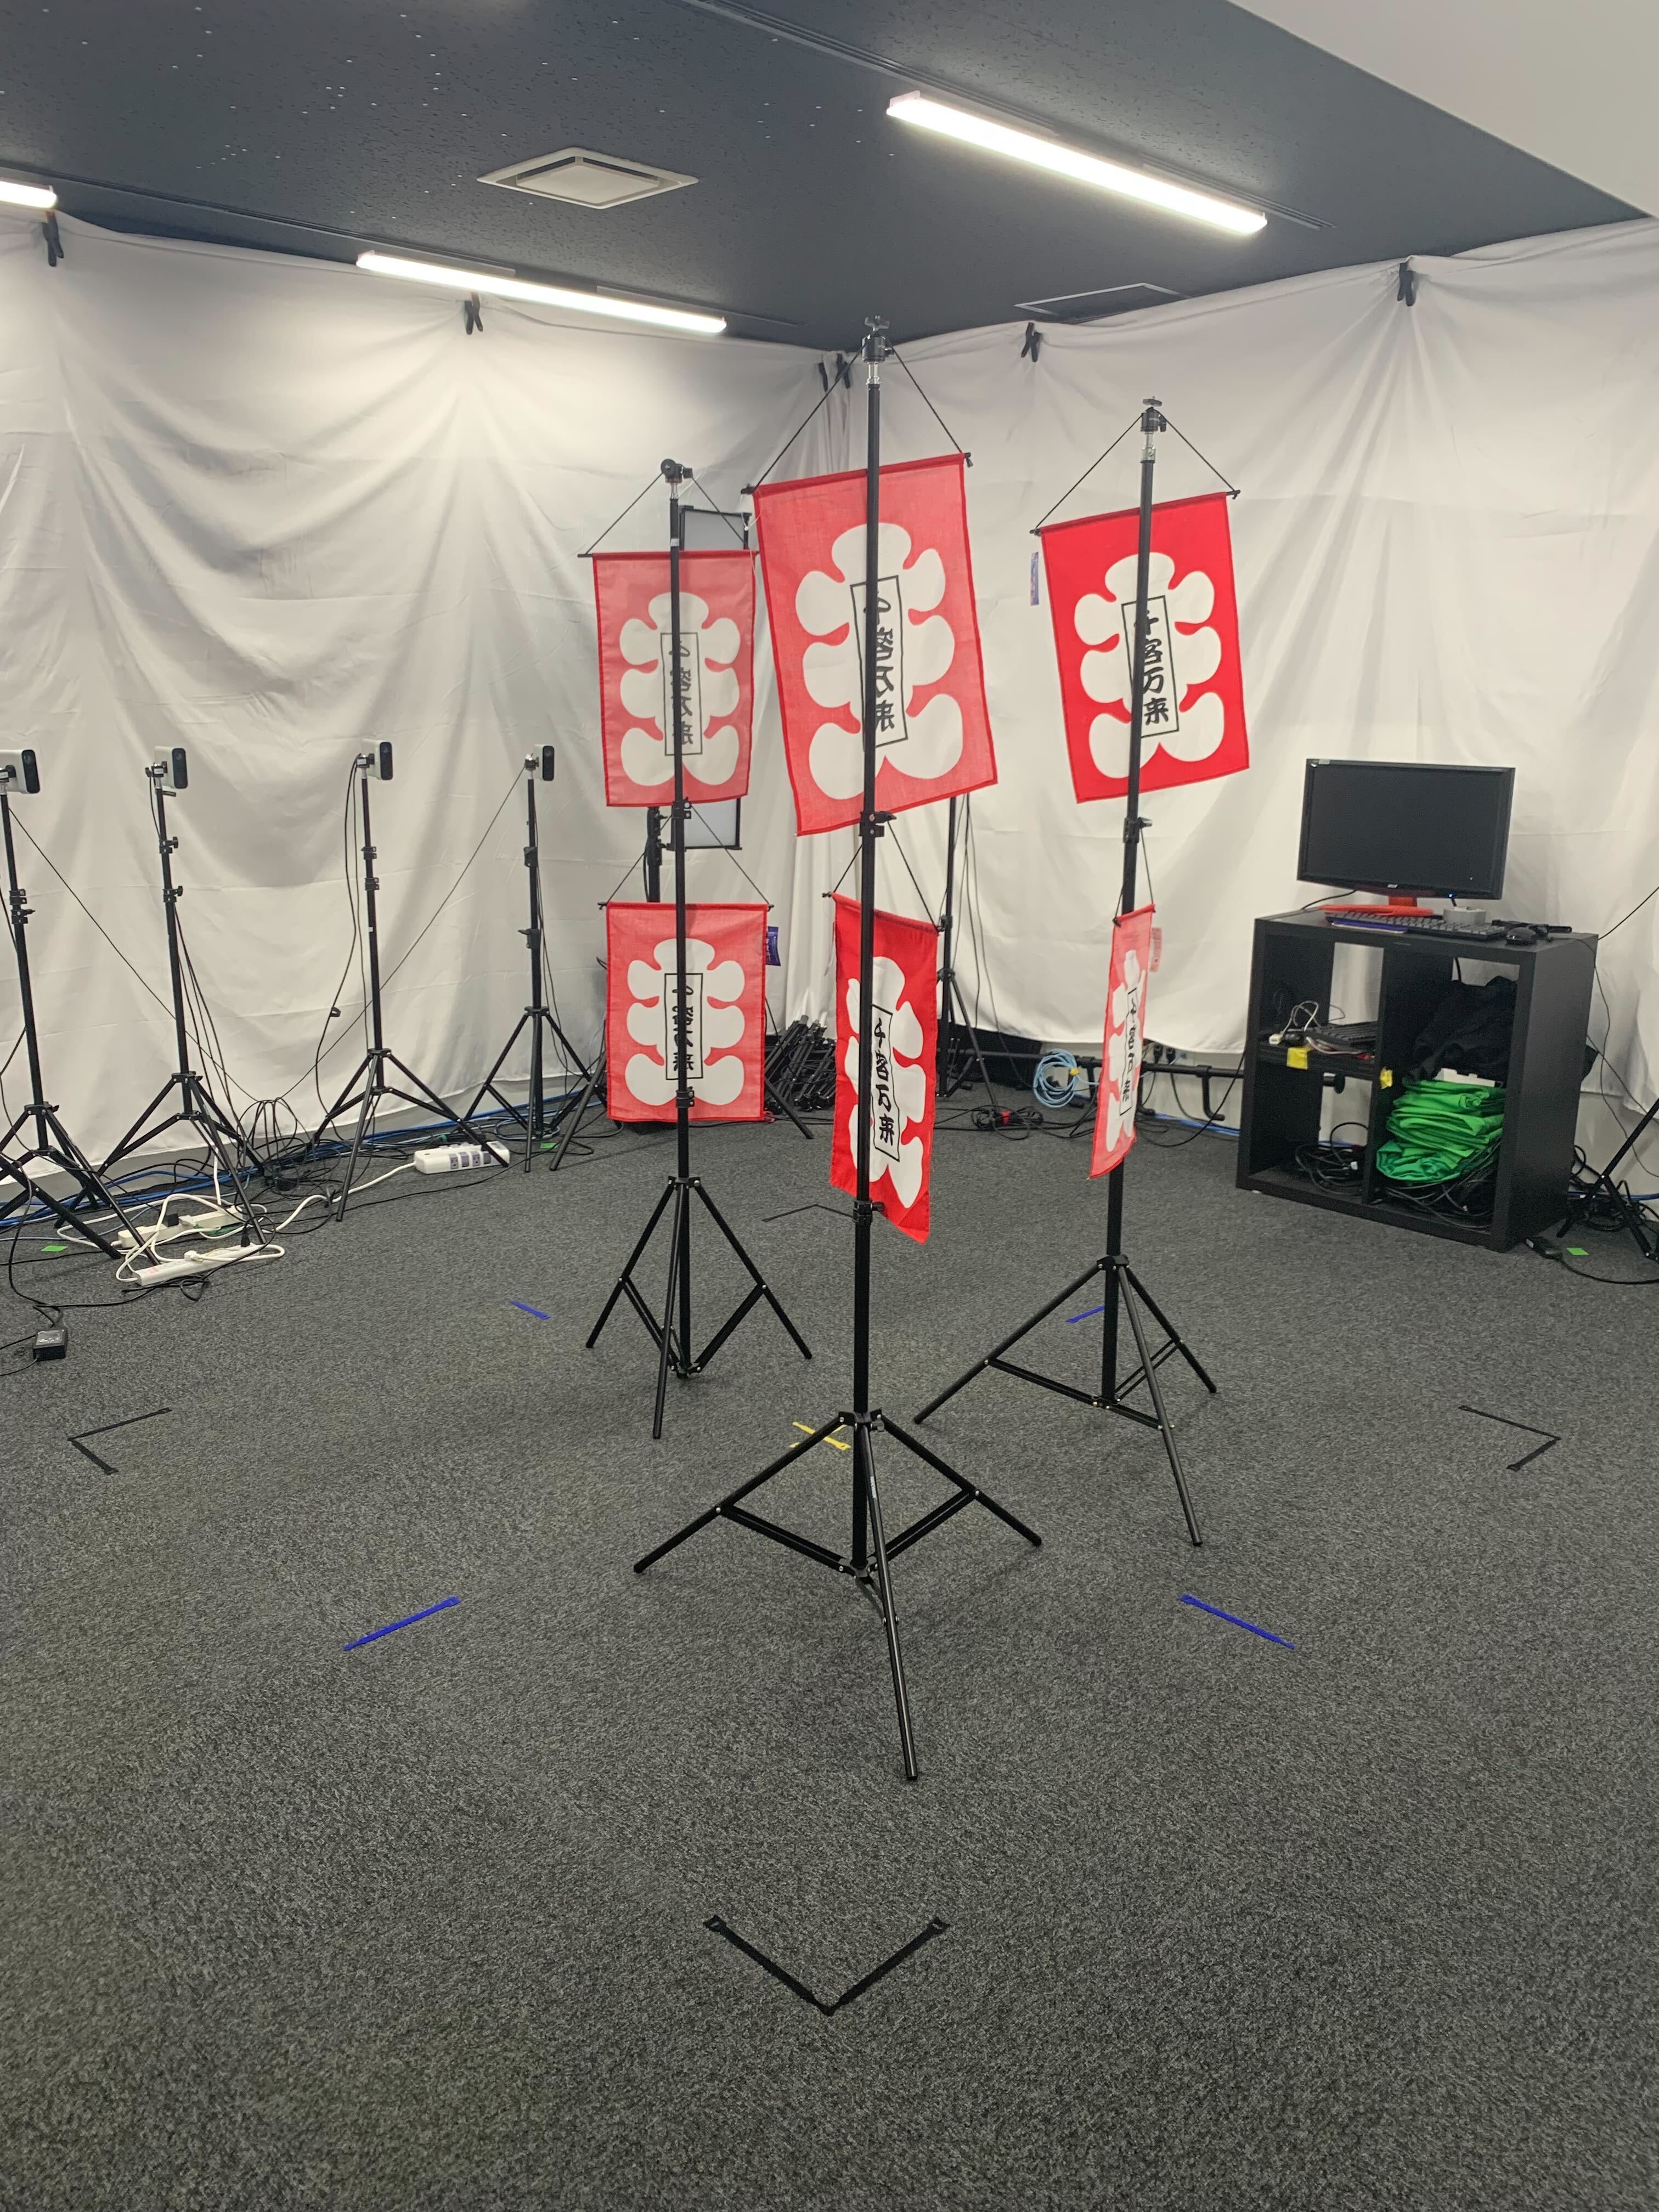
Arrange flags
Arrange the flags in the target area as shown in the following images
Capture the flags
The Sony team will remotely start the process to capture a series of images of the flags.
Capture the calibration checkerboard
Note
Skip this step unless directed by the Sony team.
The Sony team will remotely start the process to capture a series of images of the marker board.
The checkerboard pattern is shown in the following image. The grid is 7x5, and the grid size is 140mm.
The checkerboard should be printed on dibond aluminum plate with dimensions of 760mm × 1080mm x 3mm. A calibration target was shipped to your site. If necessary, you can click the image above to save a full-sized PDF for printing.
When prompted, move the checkerboard as shown in the following video:
Note
The recommended recording time is 310 seconds. Note that in 5 fps mode, the duration is multiplied by 5. Adjust gain as necessary, and exposure should be below -9 to reduce motion blur.
Calibrate captured clips
The Sony team will remotely calibrate the captured clips.
Build the 3D model (ply)
The Sony team will download the captured content and build the 3D model (ply) locally.
